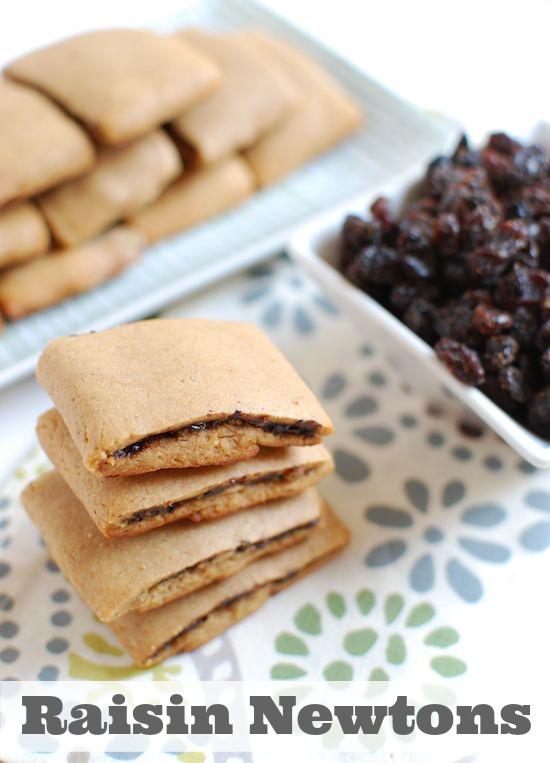
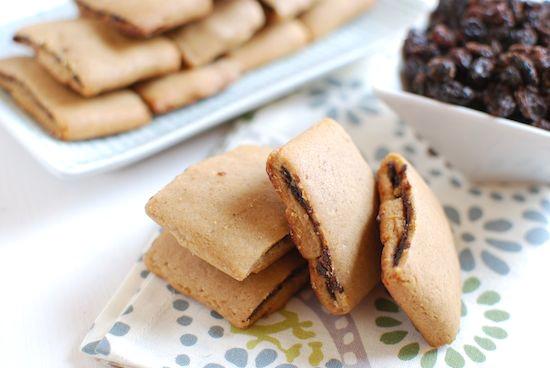
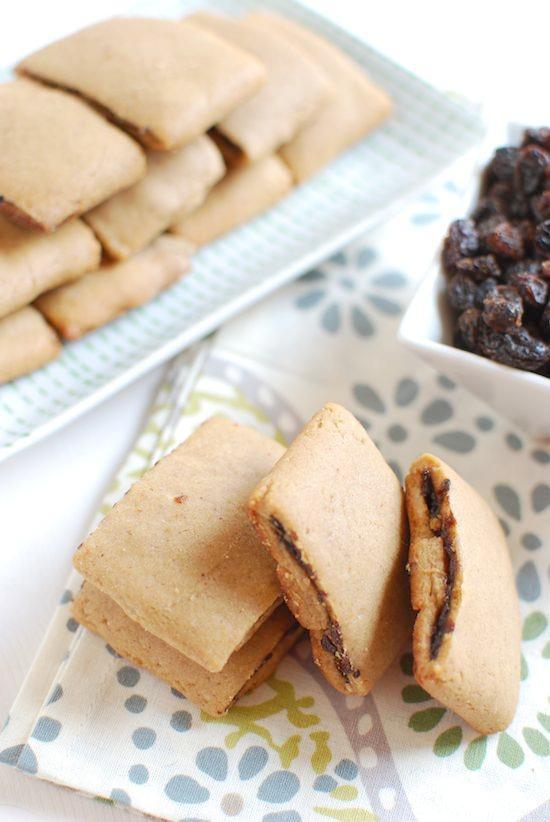
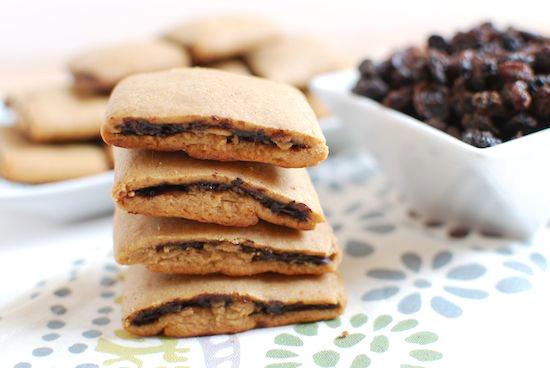
Like Fig Newtons? These homemade Raisin Newtons are made with real ingredients and taste even better than store bought. They make the perfect afternoon snack and your kids will love them.
This post is sponsored by California Raisins. I was compensated for my time and received free samples of the California Raisins used in this post. All thoughts and opinions are my own.
Hi Friends!
I am SUPER excited to share today’s recipe with you guys!
As part of the Healthy Aperture Blogger Network, I was selected to have the opportunity to work on a campaign with California Raisins! We were asked to develop a recipe using raisins and as a life-long fan of this little fruit, I knew I wouldn’t have any trouble coming up with something delicious. Plus, you all said you wanted to see more snack recipes. So….I decided to tackle a homemade version of one of my favorite childhood snacks!

First, a few fun facts about California Raisins:
- They’re are an all-natural, dried-by-the-sun fruit you can feel good about sending with your kids as they head back to school, as an after-school snack, or to beat that 3pm craving. The ingredient list says it all: Raisins.
- They come by their sweetness naturally and the nutrition label rocks: Zero fat, no cholesterol and no added sugar. Plus, raisins offer 9% of your daily fiber and potassium, and 6% of your daily iron. (per quarter cup serving)
- They are a great value! According to the USDA, raisins are the most economical dried fruit.
And now, the recipe! If I’m being honest, this recipe is a little tedious. You need to plan ahead to make sure you have time for the dough to chill and rolling/shaping the actual cookies takes a bit of time…but I think the end result is worth it! I actually had to make two batches of these because when I went to write up this post, I could barely decipher my own chicken scratch so I thought I should re-test to make sure I got it right for you guys 🙂

Anyways, the second batch was a success as well. I actually increased the amount of raisins from 1 cup to 1.5 cups so that I could get a little more filling in each one and I liked it better that way.
So here’s what you do:
PrintHomemade Raisin Newtons
A homemade version of a favorite childhood snack!
- Cook Time: 12 minutes
- Total Time: 12 minutes
- Yield: 16-18 1x
Ingredients
- 4 Tablespoons butter, melted
- 1/4 cup nut butter
- 1/4 cup honey
- 1/2 teaspoon vanilla extract
- 1 egg
- 1/2 teaspoon cinnamon
- 1/4 teaspoon baking soda
- 1 cup white whole wheat flour
- 1.5 cups California Raisins
- 1.5 cups hot water
Instructions
- Preheat oven to 350 degrees F
- In a large bowl, combine the butter, nut butter, honey, vanilla and egg and mix well.
- Stir in the cinnamon, baking soda and flour and stir until combined.
- Freeze for 45 minutes or refrigerate for 2 hours until dough is well chilled.
- Put California Raisins in a small bowl and cover with hot water.
- Let sit for 20 minutes, drain water and transfer to a blender or food processor. Puree until smooth and set aside.
- Divide dough in half, leaving one half to chill while you work with the other half.
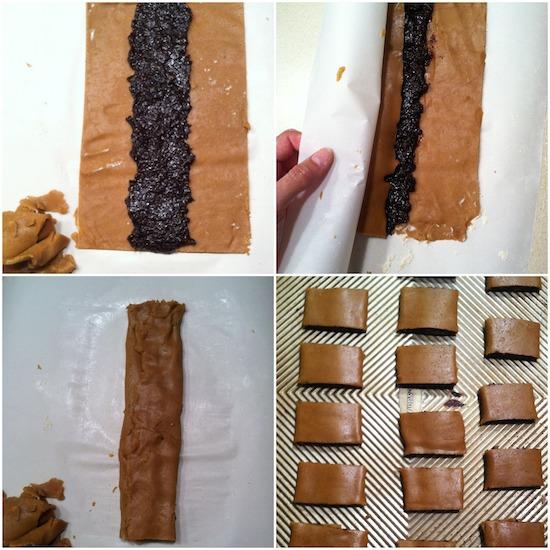
- On a piece of parchment paper, roll into a long rectangle, approximately 5 inches wide, using additional flour as necessary to prevent sticking to the rolling pin.
- Trim the edges so you have a neat rectangle.
- Spoon half the raisin paste down the middle of the rectangle.
- Lift one side of the parchment paper and fold dough in towards the middle, using your fingers to gently peel the edge of the dough off the paper.
- Repeat with the other side.
- Transfer dough log to the fridge to chill while you repeat these steps with the other half of the dough.
- Cut into newton-sized pieces (I got about 8 per log).
- Flip onto baking sheet so the seam is face down and peel off parchment paper off the top. Separate newtons slightly to bake.
- Bake at 350 degrees for 10-12 minutes.
- Let cool completely.
- Bake
I know the directions sound a bit complicated. Hopefully these pictures will help:

If you have a lot of extra scraps after trimming, let them chill for a bit then re-roll and make a few extra!

I stored these in a ziploc bag. They stay nice and soft but they’re also kinda moist so after a few days I just left the bag open so they wouldn’t get moldy.

PS…I made these a few weeks ago and when I shared them on Instagram you guys went CRAZY! Here’s to hoping you enjoy them!
Enjoy!
–Lindsay–