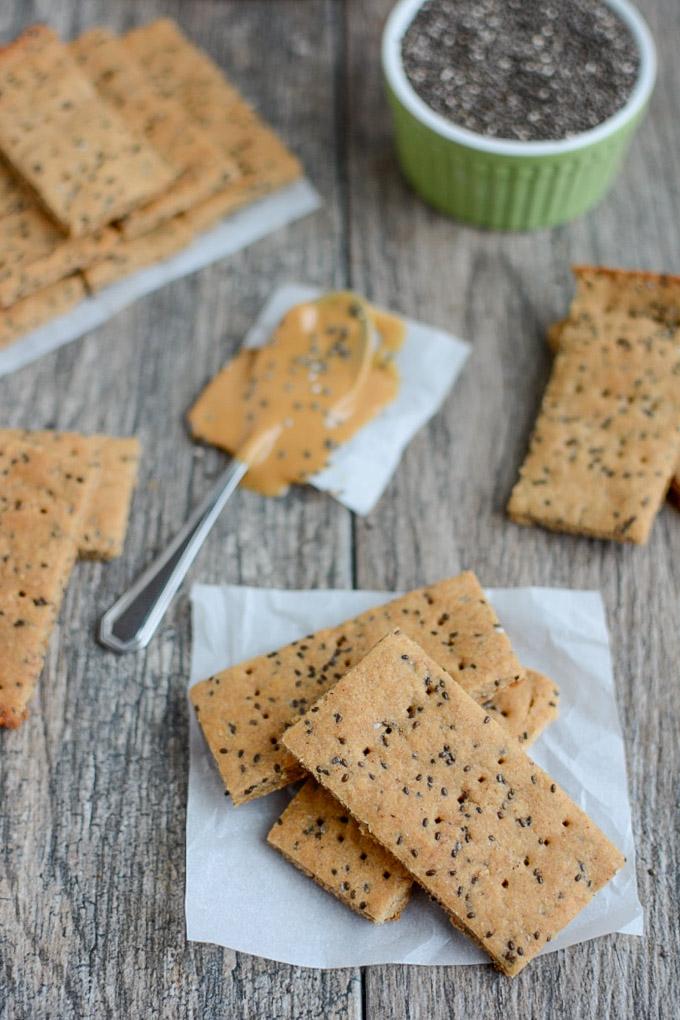
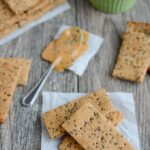
These Peanut Butter Chia Crackers are a healthy, kid-friendly snack recipe made with just a few simple ingredients. Similar to a homemade graham cracker, you can make a batch for an after-school snack or pack some in your purse for a busy day!
Hi friends!
If you follow me on IG stories, you’re already quite familiar with these Peanut Butter Chia Crackers. They’re kinda like my version of a homemade graham cracker and I have literally tested the recipe 10 times in the past 2 weeks. Luckily the flavor was fine from batch one so all ten batches got eaten…it was just the execution I was trying to master. I wanted to make it as easy as possible for you.
I first tried doing these freehand with a rolling pin…but what I’ve found is that the dough doesn’t really lend itself well to being rolled. Especially when you cut off the edges to make them straight and then try to re-roll it. Then I tried just pressing the dough into a 9×9 pan. That works well…but they’re just a little too thick for me. If you want the easiest route, that’s it.
Peanut Butter Chia Crackers
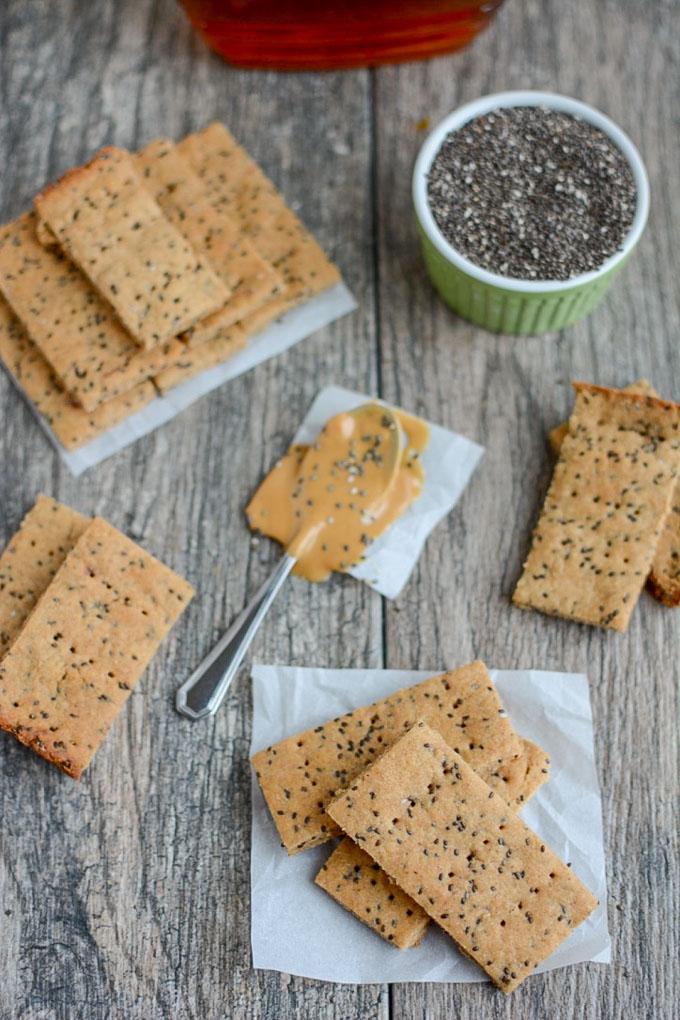
If you’re like me and want them just a little bit thinner, here’s what I found works best: divide the dough in half. Press half of it into a 9×13 pan. Work with it until it’s about an inch or an inch and a half from one end. There’s not quite enough dough to fill a 9×13 pan…it seems like 9×11 or 9×12 is ideal for me.
I always line my pans with parchment paper, so then you just pull that first half of dough out and repeat the process on a new sheet of parchment paper in the 9×13 pan for the second half of the dough. I do both halves right away and just let one sit on the counter because I like using the 9×13 pan to help guide me and give me straight edges. So once one half is baked, I just pull out the parchment paper in, pop in the other piece of parchment paper and bake round 2.
It takes me about 5 minutes of work pressing the dough in the pan and working with it to get it to the 9×11 or 9×12 size. The warmth from your hands seems to help make it easier to work with instead of being too crumbly.
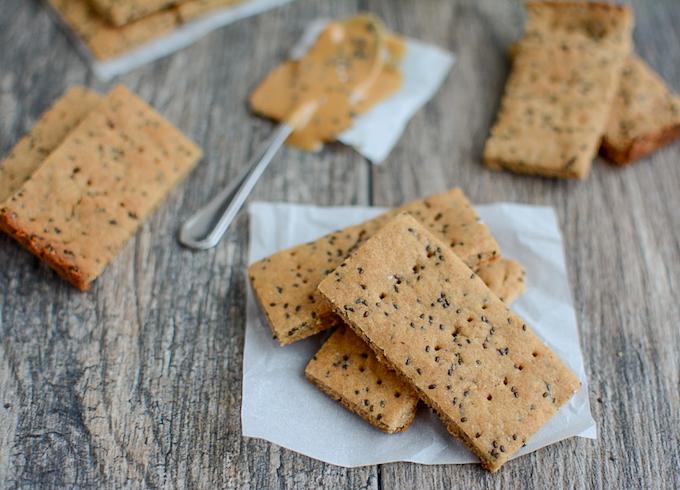
So, if you want to give these a whirl yourself, here’s the recipe:
PrintPeanut Butter Chia Crackers
These Peanut Butter Chia Crackers are a healthy, kid-friendly snack recipe made with just a few simple ingredients. Similar to a homemade graham cracker, you can make a batch for an after-school snack or pack some in your purse for a busy day!
- Prep Time: 15 min
- Cook Time: 10 min
- Total Time: 25 minutes
Ingredients
- 4 Tbsp butter, melted
- 1/2 cup peanut butter
- 1/4 cup sugar
- 2 Tbsp honey
- 3 Tbsp chia seeds
- 1 tsp vanilla
- 1 tsp cinnamon
- 1/4 tsp baking soda
- 1.5 cups white whole wheat flour
- 1/4 cup water
Instructions
Preheat oven to 375 degrees F.
In a large, microwave-safe bowl, melt butter.
Add peanut butter, sugar, honey, chia seeds, cinnamon, vanilla and baking soda and stir until well combined.
Add one cup of flour and stir until just combined.
Add remaining 1/2 cup flour and 1/4 cup water and mix well. If the dough still seems too crumbly, you can add one more Tbsp of water…but there will still be some crumbs. The warmth of your hand will help it all come together.
Form dough into a ball with your hands and divide into two equal sections.
Line a 9×13 pan with parchment paper.
Place one section of dough in the pan. Slowly, with your hands, work the dough to spread it out. I usually put the dough a little closer to one end, press it out until it reaches the corners and then begin to work it towards the other end of the pan.
Press the dough until it covers all but about 1-1.5 inches at one end of the pan. Make sure it’s not too thick around the edges of the pan or in the middle. You’re going for an all-around even thickness.
Use a knife to cut into crackers. I usually divide the pan into thirds horizontally and then cut vertically. Take a fork and use the tines to make three rows of holes in each cracker at the top, middle and bottom.
Use the edges of the parchment paper to remove it from the pan. Repeat the process on a new sheet of parchment paper with the second section of dough.
Leave round 2 in the pan, bake for 8-10 minutes. (I start checking them at 8 min) Let sit for 5 min, then carefully remove the parchment paper from the pan and drop the first piece of parchment paper with the prepared crackers from the first section of dough into the pan and bake for 8-10 minutes at 375 degrees.
Let cool completely. Crackers will soften after the first day.
Notes
If you don’t mind a thicker cracker, you can divide the dough in half and press each half into a 9×9 pan instead of a 9×13 pan.
One thing to note is that these crackers will soften after the first day. So they’re crunchiest once they’re cool on day one, but on the following days they will get softer. This doesn’t impact the taste.
Let’s chat:
Do you ever make your own crackers?
Enjoy!
–Lindsay–
Get my free Table Talk email series where I share bite-sized nutrition information about carbs, protein, and fat, plus bonus information about snacks and sugar!


This looks great! I can’t wait to make these with my little guy (he’s 2 and loves cooking with mom). Thank you for all of your wonderful recipes!
These are genius! They sound perfect for little ones too. Sending to my SIL for sure! Chia seeds plus peanut butter and honey, what’s not to like!
Just made these today and they are delicious! Not too sweet but still very tasty. My 16 month old is currently devouring them These will definitely be going into our snack rotation!
yay! i’m so glad to hear it!!
Thanks for this recipe—they turned out delicious! Next time I will add a pinch of salt and leave out the chia seeds.
glad you liked it!
We made these tonight and my 3yo had a blast getting to mix and mash! They are a little sweet for us, but still SO YUMMY. We will definitely make another batch after these are gone!
glad you liked them! i think you could leave out a little more sugar if you wanted, but i tried them without the honey and didn’t like them as much.
Girl, you’re the expert here! I don’t know if I want to change it at all. We’re almost through them and I had just finished making them when I commented last night! 🙂 My kids LOVE them. In fact I had some with breakfast this morning! Perfect sweet to a savory HB egg.
I made these tonight with gluten free flour and omitted the sugar. They were really tasty & my kids loved them but they are extremely crumbly. Any idea to thicken them up? Are they best stores room temp or in the fridge or freezer? Thanks!
hmmm i’m thinking the sugar might help hold them together a little bit so that’s why they’re more crumbly than normal. You could try adding an egg? I haven’t tried that. Or maybe a little milk or water for extra liquid before you press them into the pan. i store them on the counter.
Made these today and they turned out great despite me flubbing the recipe quite a bit lol (so they’re probably just about foolproof). Cut the recipe in half, only had AP flour and pumpkin pie spice to sub for the cinnamon. Then I accidentally set the oven for 350 instead of 375 so I suspect they would have been a bit more cracker-like at the correct temp. They were tasty all the same even with all the mistakes on my part haha
glad to hear it!