After much anticipation, here begins the long awaited Hubby guest post. Today, I’m the boss, and I’m taking over the Lean Green Bean. Lindsay has been asking me to contribute something for about a year now, and inspiration has struck!
I’m a bit of a renaissance man. I’ve always enjoyed figuring out how things work, and spent most of my childhood taking things apart and almost always successfully putting them back together. This interest persisted as I majored in Physics- the most GPA-damaging method of learning about how stuff works- and has carried on to this day, manifesting itself as a large collection of power tools, and a near constant stream of projects and hobbies going on around the house. One of these hobbies seemed to be a perfect fit for a guest post, creating the perfect marriage of cooking and ultimate renaissance-person pursuits: Home Brewing.
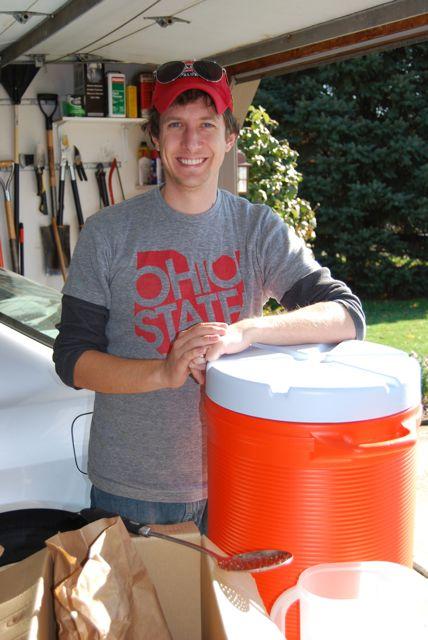
I’ve been brewing beer for about a year now, and Lindsay has had a front row seat, acting as taste tester and victim of the occasional hostile kitchen takeover. At this point, I’m hooked. Here’s what I enjoy about brewing, and what you might like too should my post inspire you to try it yourself:
1) I really like beer- this is probably a prerequisite
2) There’s a lot of Science and History behind the process- NERD ALERT
3) You get to engineer and build a lot of your own equipment
4) There are only 4 basic ingredients- but total creative freedom with infinite recipes to create
5) When you’re done, you get to drink delicious beer of your own concoction while astonishing your friends
That should be reason enough to immediately run out to your local homebrew shop and get started, but in case you want to know a little more, I thought we would walk through the creation of a batch. I promise to keep it both fun and informative, while trying to suppress nerdy scientific tangents. Added Bonus: Lindsay will play the role of Assistant TO THE Regional Brewer for the first time!
The Ingredients
Fundamentally, beer only has four ingredients: Water, Barley, Hops, and Yeast (as defined by the Reinheitsgebot aka German Beer Purity Law of 1516). Many beers deviate from this, like Wheat Beer or Spiced Ales, but we will be purists and just focus on the core four. I’m assuming you already have some familiarity with Water, so let’s quickly look at Barley, Hops, and Yeast.
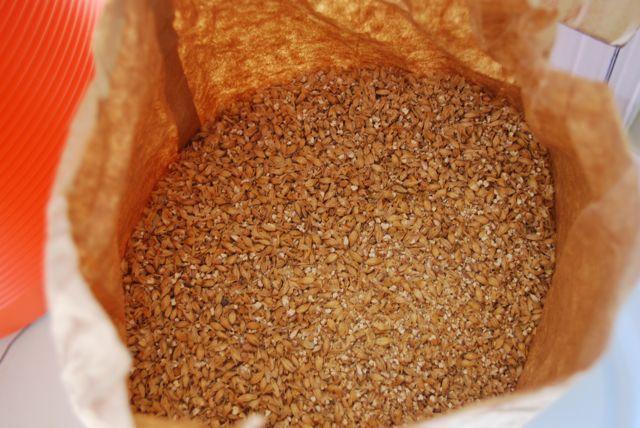
Barley: Barley is a grain/member of the grass family/topic of an annoying Sting song, and is similar to Wheat. Before if can be used for brewing beer, it must be malted. Malting is process of partially germinating the grain by soaking it while controlling temperature and humidity. This starts to break down the starch reserves to create sugar, then heat is used to stop germination and save that sugar for the brewer. Malt gives beer it’s color and sweetness. Darker beers are produced with Malts that were cooked for longer, carmelizing some of the sugar.
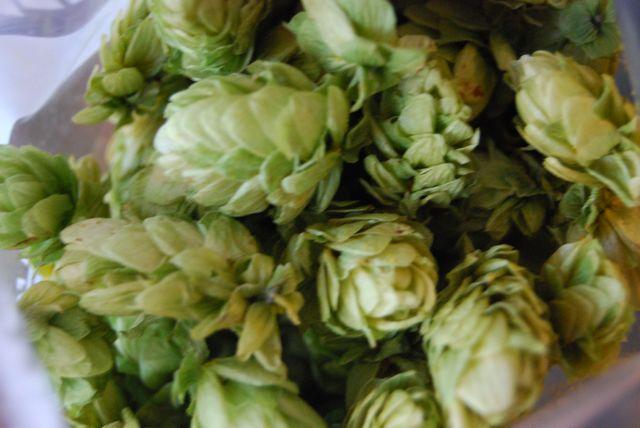
Hops: Hops are a vine plant in the mulberry family that produce a cone-like flower. The cones are very aromatic and boiling them adds the bitter finish to the taste of beer (by isomerizing the alpha acids found in the pollen-like Lupulin of the cone- NERD INSERT). There are many different varieties that have unique tastes that they bring to the beer.
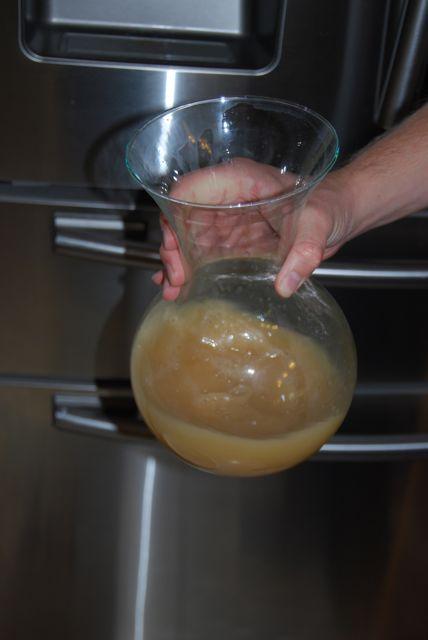
Yeast: Yeast are really cool, so don’t be put off by the fact that they are technically a fungus. Lucky for us, they can live without oxygen by a process called fermentation. When they eat sugar – which we get from the Malted Barley- they produce both CO2 and ethyl alcohol. Obviously, the ethyl alcohol is more exciting outcome of this process. The more fermentable sugar in your batch, i.e. Malted Barley, higher the alcohol content.
The Process
Now that we’ve met the main players, let’s make a batch. Grab a buddy and let’s get to it! Brewing is mostly boiling things together in a pot, but there’s a little more to it than that. Here are the basic steps to outline the journey:
1) Mashing- Essentially getting the sugar out of the Malt, and dissolved into a pot of water.
2) Boiling
3) Adding hops during the boil to add the bitter element
4) Cooling the liquid down
5) Add Yeast to start making that sweet alcohol
Now then, Lindsay and I woke up this past Sunday to brew a Black IPA. This is robust, bitter, and dark beer. Delicious, but not for the timid. We were up 8AM and moved the party out to the garage- the home base for my brewing operation.
Mashing:
For the beginner, this process is skipped altogether. I recommend that first time brewers use a Malt Extract, where the sugar has already been extracted from the Malts in a syrup or powder form. Just dissolve the syrup in your boiling pot of water and you’re off to the races. However, there’s a slight drawback that extracts are more limited in the range of flavors that can be achieved.
Once you graduate, you get to start with the malted grain like an actual brewery, dial in your own recipes, and build some of your own brewing equipment. AND- have way more fun making your neighbors think you’re distilling moonshine on your driveway…
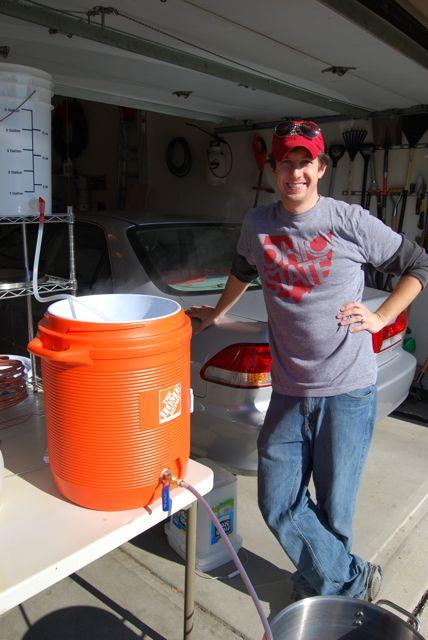
Meet the Mash Tun– A converted 10 gallon igloo beverage cooler designed to extract sugar from the grain. You’ll notice two key features, a wire mesh filter (that allows sugary water through and keeps grain out) and an upgraded ball-valve spigot to control flow the flow of liquid. This is a favorite design in the home brewing community (trust me, I didn’t think of this thing on my own) and requires many entertaining trips to the hardware store. The “filter” is actually the outer stainless steel casing you find on a toilet water supply line. Don’t worry, I bought it new and cleaned it before making it part of this apparatus.
So what do you do with this Mash Tun?! Glad you asked. The goal is to extract the fermentable sugars from the malted barley, and this is done by soaking the grain in hot water for around an hour. Prior to mashing, the grain has been cracked open by running it through a roller mill. This maximizes the water contact with the grains to dissolve the sugars. I don’t have my own mill yet, but lucky for me, my local home brew store has a big self-serve powered mill that is very fun to use.
The two things that need controlled during the mashing process are the Water to Grain Ratio (which is typically in the range of 1-2 quarts of Water per pound of Grain) and the Temperature. Ideal extraction occurs around 155 degrees, but knowing that the grain will steal some of the water’s heat, the water is typically heated to about 165 degrees.
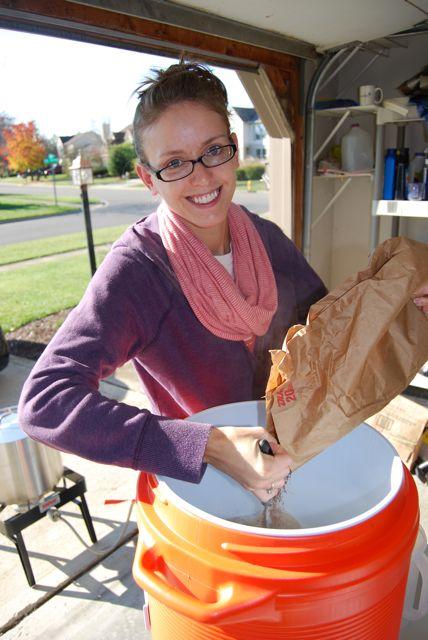
The recipe I created had about 12 pounds of grain, so we started with 4 gallons of 165 degree water in the Mash Tun. My lovely assistant Lindsay is shown below, mashing in our malted barley. We were using three kinds – about 10 pounds of lightly roasted Pale Ale Malt (where the majority of the sugar will come from), 1.5 pounds of “60L” Caramel Malt (caramel describes the caramelization of the roasted grain and the “L” is the Lavibond color scale- the higher the number, the darker the grain), and about 1 pound of Chocolate Malt (darker still, this one is around 300 Lavibond, and does not contribute much sugar, but provides a smoky flavor).
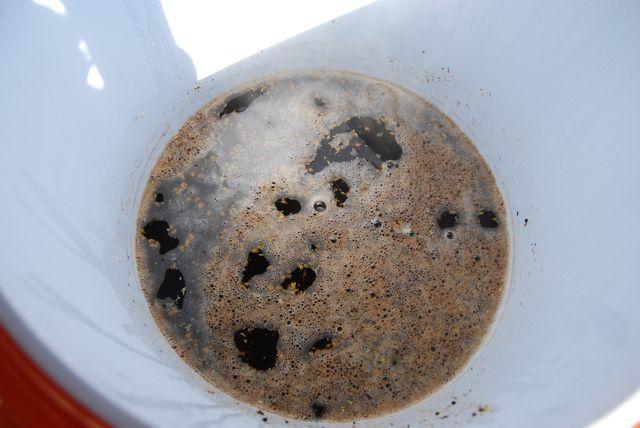
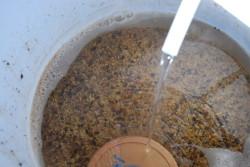
Once the grain has been adequately mixed around in the water it will look something like this!
The next step is to let this sit at a constant temperature for about an hour. That’s why an igloo beverage cooler is so ideal. Pop the lid on, and fast forward.
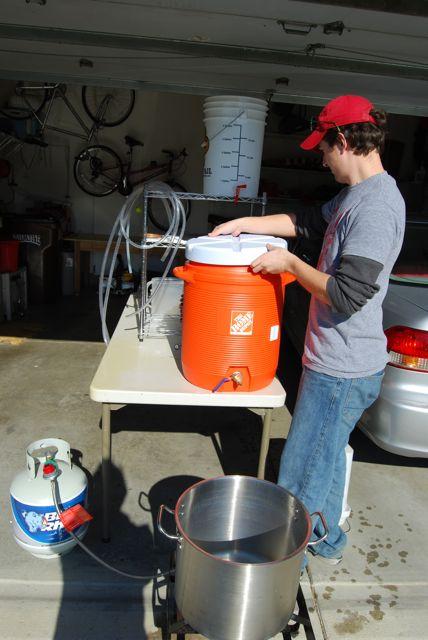 [Fast forward complete]. Spoiler Alert- It’s all going into the big stainless steel kettle. The next step in this process is Lautering (and Sparging).
Lautering (and Sparging):
Now that the mashing is complete, the next step is to separate the sugary liquid (called Wort) from the grain and get it into the brew kettle for boiling. This process is called Lautering. We begin by slowly draining the liquid out of the valve at the bottom of the Mash Tun, while pouring more hot water into the top to continually “rinse” the grain. The “rinsing” is called Sparging. The liquid is transported through food grade tubing to better control its destination, i.e, not splatter sugary liquid all over the place.
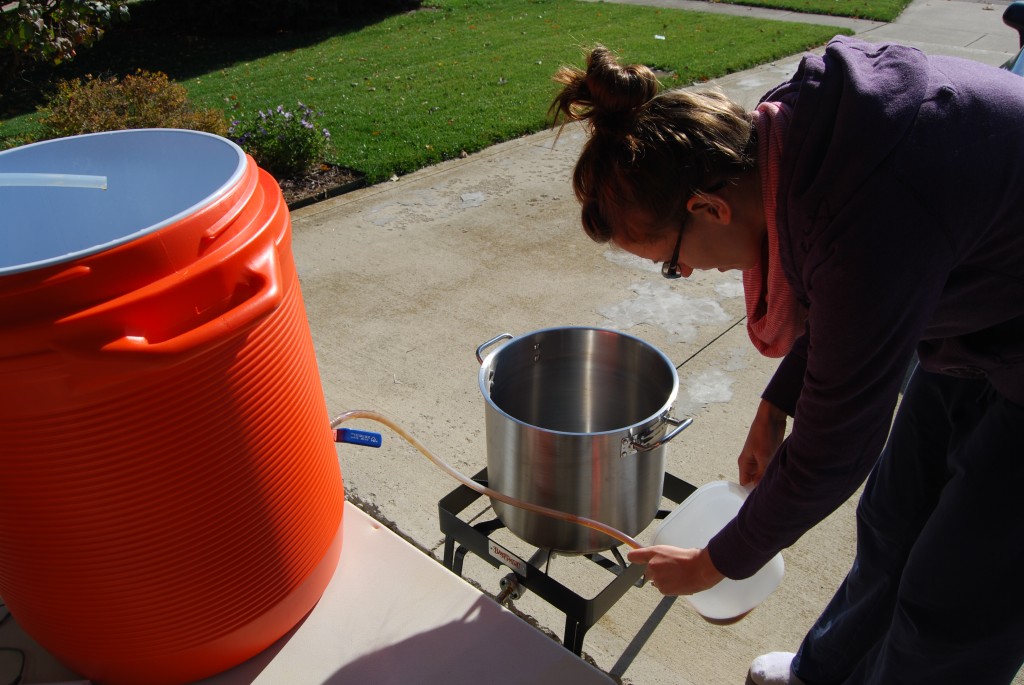
In the picture below, Lindsay is starting the flow of wort. The first runnings will be cloudy and have some bits of grain, so we catch it in a pitcher and pour it back into the Mash Tun. this recirculation process is called vorlauf (aren’t these words fun?).
Once the first few quarts have come out, the grain bed starts to act like a giant filter and the wort will have more clarity. At this point, we start draining the wort into the brew kettle while simultaneously sparging the grain. In brewing terms, the sparge water is delivered from a “hot liquor tank”, meaning a vessel that holds hot water. In my operation, this is simply a plastic bucket with a valve I added. Not exactly hi-tech, but it’s effective. Also, you’ll note that gravity is our friend with this stair step set-up.
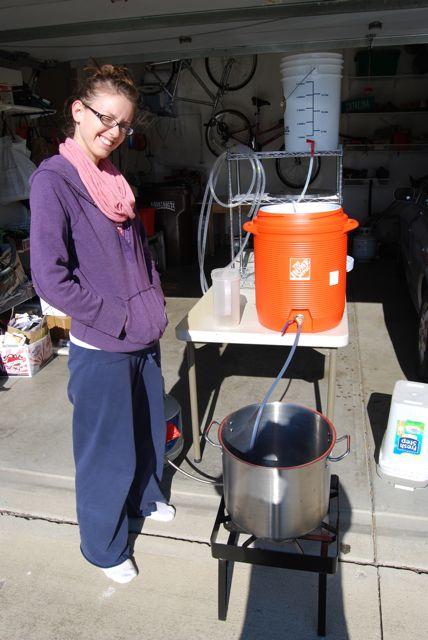
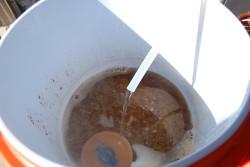
The water in the mash tun starts to clear as the wort drains out. And yes, that’s a plastic lid in there- I think it was from a package of bleu cheese crumbles. It helps to disperse the water as not to disturb the grain bed…again, cutting edge technology.
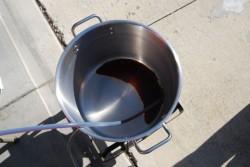
After about 20 minutes, we have a brew kettle full of wort.
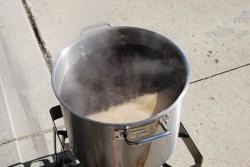
Now we get a roaring boil going on the giant propane burner. This is called a “Bayou Burner” (presumably it’s normally used for crawfish). It was a great purchase, mostly because Lindsay was ecstatic that I was out of her kitchen and not making the house smell like a brewery.
Boiling the wort helps to kill any bacteria, coagulate proteins suspended in the liquid, and bring the heat up high enough to extract bitterness from the HOPS– our next step!
Adding Hops (getting bitter):
No beer would be complete without that crisp bitter finish. We achieve this by boiling hops in the wort. The duration of the hop boil and the type of hop are what determine the taste/effect they will have on the beer. A long boil will simply extract bitterness, a short boil will add more of the aromatic elements of the plant. For this reason, hops are generally added several times during the brewing process. Don’t be fooled my Miller Lite’s “triple hops brewed” nonsense. Pretty much every beer you’ve ever consumed had hops added multiple times.
So here go the hops…
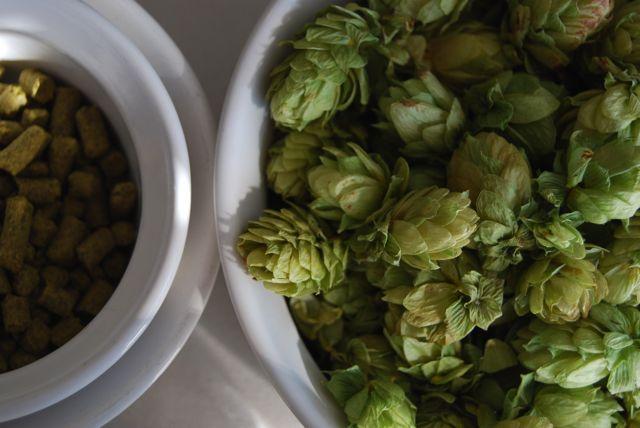
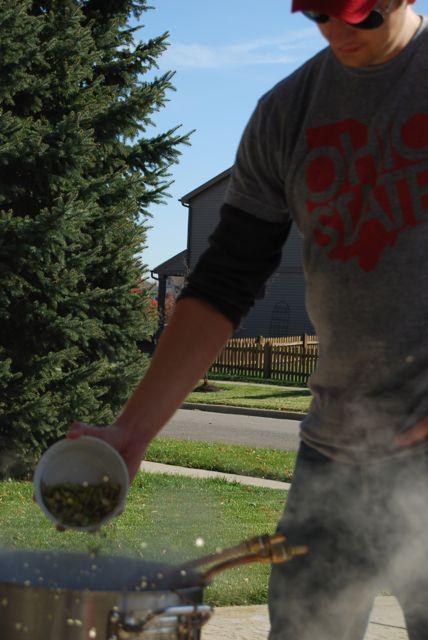
In this batch I used Warrior, Amarillo, and Cascade varieties. I grew the Cascade myself (I told you I’m a Renaissance man), and bought the other varieties at my local brew shop. I boiled the Warrior for the whole hour for bitterness, and added the Amarillo and Cascade near the end to get the aroma elements. I also threw in some Irish Moss (which is actually dried seaweed) which helps to clarify the beer and prevent “chill haze” when we eventually cool it down and drink this stuff at some point. Weird yes, but apparently it works.
Now that we’ve got a bitter wort, we’re ready to cool this bad boy down (and explain those metal pipes sticking out of the kettle in the previous picture.)
Cool it Down!
As I nerdily mentioned earlier, the boiling coagulates proteins suspended in the liquid. These make the beer hazy when cold, but if we cool the wort fast enough, they drop out of the liquid and make the beer more clear (the irish moss helps with this as well). Also, the prime time for bacteria to grow is when the beer is “warm” in the time between it’s boiling and cool, so we want to minimize that window.
Enter the HEAT EXCHANGER (ER…ER…ER- that was an echo). This is another fun toy to build, made out of flexible copper tubing.
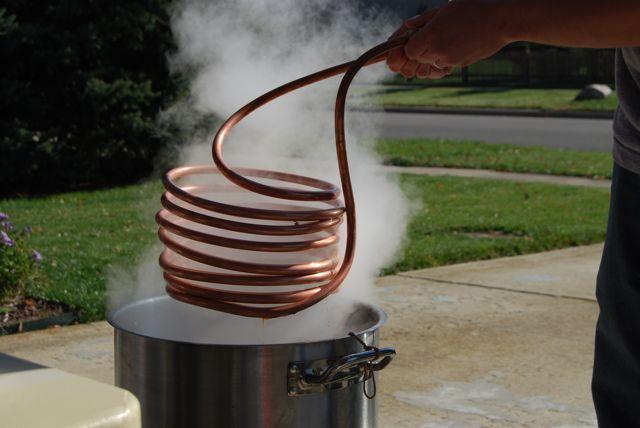
Inserting this into the pot and running cold water through it rapidly cools the beer. You can actually get burned by the water coming out the other side- it’s physics in action! The reason I put it in while I was still boiling the hops was to give it a chance to sterilize.
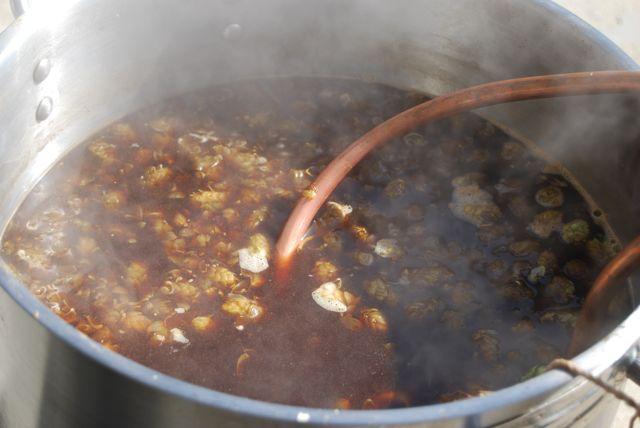
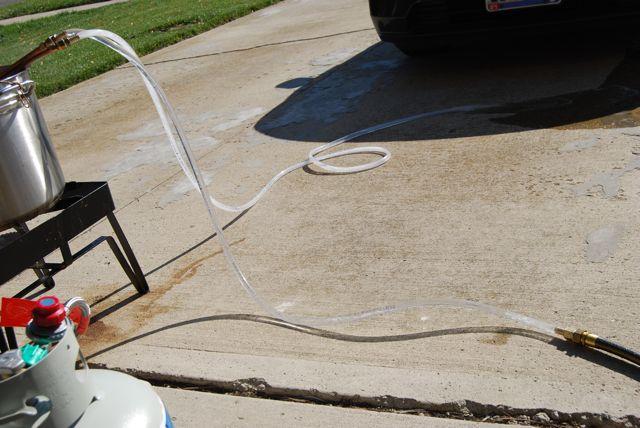
After 15-20 minutes we’re back down to room temperature and ready to put the wort in a fermenter and feed it to the yeast.
Fermenting Time.
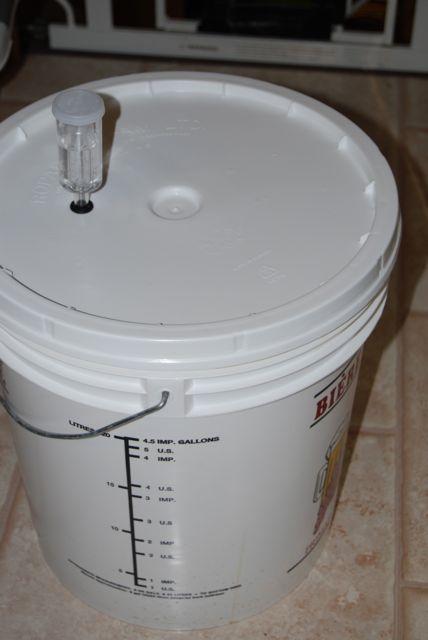
Now we transfer the wort to our fermentation vessel. This is a plastic bucket with a sealing lid- glamorous as most of the equipment in this process. A strainer is used to separate the hops out and splashing is encouraged in this stage. We want to get as much oxygen in the wort as possible to help activate the yeast cells as they start fermenting.
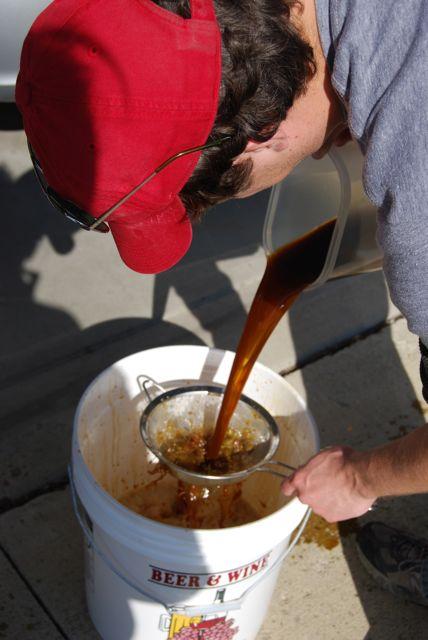
After properly sloshing the wort around, the foamy top shows that we have adequately aerated the wort and are ready for the yeast. We had already started activating the yeast in a malt solution the night before, so now we just dump them in.
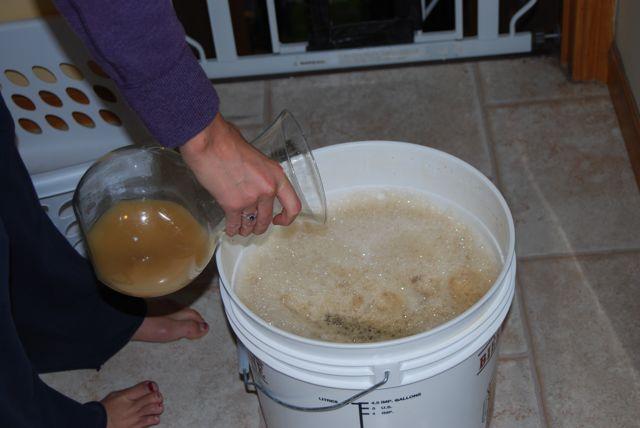
Next, we seal up the vessel and let those yeast start doing what they do best- munching on sugar to make CO2 and ethyl alcohol. The little air lock inserted in the top acts as a one way valve to let the CO2 out while keeping the container air tight. The yeast will work on this feast for about 7 days, and then we’ll have beer!
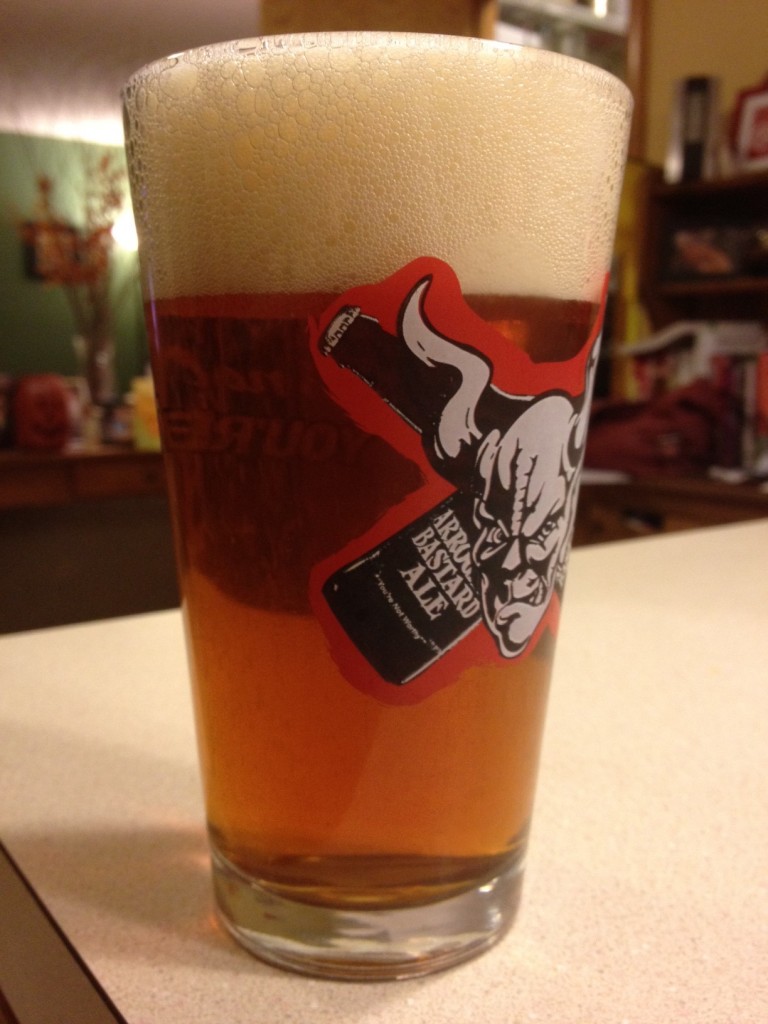
Once this is done, we still have to bottle and carbonate the beer, but we’ll save that for another post (?- only if you’re intested). However, to prove that this actually works, here’s a picture of a previous finished batch I’m enjoying as I write.
Summing Up:
Thanks for taking this detour from your normal Lean Green Bean content. I encourage you to give brewing a whirl- nothing like treating a friend to a beer you brewed yourself.
If I’ve been successful in inspiring you to try “getting your ‘brew’ on”, I would find a home brewing store in your area and have them set you up with starter kit. You can also find kits online from sites like Northern Brewer. There’s also a great (and free) on-line book by a home brewing guru, John Palmer, at the aptly named “howtobrew.com”.
It’s been real Lean Green Bean readers, but now I’m going to relenquish control back to Lindsay for regularly scheduled programming. We’ll let you know how the finished product tastes (and just maybe I’ll be invited back for another guest post in the future!).
Cheers!!
The Hubby
Get my free Table Talk email series where I share bite-sized nutrition information about carbs, protein, and fat, plus bonus information about snacks and sugar!



This is awesome! I’ve been wanting to make my own beer for the longest time, but didn’t want to be stuck with lots of specialized equipment. I think this is one of the best tutorials I’ve seen on how to make beer at home.
Just curious, what variety of beer did you end up making. It looks good!
Getting started with extract brewing doesn’t require much equipment at all. It’s only when you switch to “all grain” brewing when you start requiring more tools of the trade.The biggest cost is buying a brew pot. Stainless Steel is the best, but you can also use “granite ware” to save a little money.
This particular brew is my first stab at a Black IPA.
nice! i don’t like beer (to the chagrin of my husband), but i think that one day when we get a house and have the space for it, my husband will want to try this out. some of our friends do this and love it.
p.s. he’s going to the osu/purdue game tomorrow so he’d totally approve of your shirt. he’s a big buckeyes fan!
Go bucks!
My hubby and his friends recently started this hobby. They are on their 3rd batch and they also started wine (which I am super pumped about since I am gluten-free now — I do miss beer…G*Free beer just doesn’t compare to the real deal). Their first brew was a Hefeweizen, their 2nd was a vanilla cashmere, and their 3rd was a pumpkin ale…they recently purchased their 4th kit but I am not sure what it is – another Hefeweizen I think. 🙂 They love it and are so proud of their work. Cheers!
Once you figure out what you like, you can start concocting your own recipes. That’s when it starts to get REALLY fun!
Maybe the Bean and I can look in to gluten free beer and see if we can come up with something. Thanks for reading!
Wow, this is so thorough- I’m very impressed!! I actually showed it to my husband, who always home brews, and he said ‘I need to be friends with this guy!’ 🙂 Nothing is better than a delicious homebrew!
Haha, I think “thorough” is one of my wife’s euphamisms for me talking too much.
I’m sure your husband and I would be two beer-brewing peas in a pod. Our next ambition is to start kegging our own beer, so we’ll let you know how that goes…
so jealous of your homebrews! i wouldn’t mind if brad took that up as a hobby. 🙂
Home Brewing Kit as a Chrismas Present? (Just sayin’)
that does sound like a great idea! maybe i’ll save that one for when we have a house/garage/room to brew!
but i like the way you think… 🙂
Love this post! My husband & I also brew beer (and when I say I do it, I really just help him bottle it…my favorite part!) and I’m always curious about other people’s set ups for homebrewing. We live in a townhome & don’t have a lot of space so he does everything in the kitchen and then stores the wort in our utility closet! I’m impressed you made your own wort chiller, my husband will be jealous 🙂 I definitely want to see your bottling process.
The wort chiller is really pretty simple to make, you guys should make one. You just need a length of flexible copper tubing (comes in a pre-cut length in a box at Lowes/Home Depot) and some compression nuts to attach some barbed ends. I wrapped the tubing around a small pail to get the shape, then I just bought a hose adapter and some plastic tubing to run the water through. Total cost was probably $40ish?
Haven’t decided if I’m botting or kegging this one yet. I just bought my first cornelius kegs, so if I get the rest of the components in time, I may try doing it that way. Sure will beat cleaning all those bottles!
My husband and I are also brewing fans- he will also be jealous that you made your own wort chillers AND I’m super impressed that you grew your own hops! Maybe that will be our challenge this spring. We brew in our condo in Chicago- it doesn’t take up too much space, really. Enjoy!!
I want to hear all about this brewing operation you have going. You’ll probably be getting a message from me soon 🙂
even though I’m a michigan fan, i can help but enjoy the information as i was recentlly thinking of brewing my own beer. can you do this inside, or is the smell too much? thanks for sharing!
Absolutely, I probably did my first 5 batches using malt extract in the kitchen. You can do this with a smaller brew pot than I was using too, because you boil a more concentrated 3 gallon brew , and then dilute it to the full 5 gallons in your fermenter. If you keep your range fan going, it doesn’t linger for too long. Plus, I happen to like the smell of brewing 🙂 even though Lindsay is less fond of it.
Thanks for putting the rivalry aside to read my post. We’re allowed to get along with each other until 11/26 🙂
What an awesome guest post!! I just helped my hubby transfer some beer to one of his kegs today 🙂
I’m tired just reading about all that work! Looks delicious – hope you get to enjoy it all… to the very last drop! I probably won’t ever brew my own beer since I’d probably end up with something poisonous BUT I’m so happy you had success!
This is definitely the best “how to” type of post everrrrrr 🙂
Wow, very impressive! And I love that your hubby did a guest post. I highly doubt my husband will agree to writing one for me anytime soon! 😉
ahhhhh fun! I’m starting with kombucha but when the hubs returns beer brewing is a must! i have this saved for later =)
fabulous guest postage if I do say so myself! =) might need to make this a regular cameo! <3 love you guys!
Our men would get along so well! Mine’s a scientist and loves beer. Last night at dinner he couldn’t help himself when he saw a 33oz beer on the menu. We’ve been talking about brewing forever, we just need to get our butts in gear and do it!
I’ve been meaning to comment on this but I got side tracked yesterday! I love this post. My boyfriend recently took up home brewing and is in the process of starting a brewery with a friend of his. I’m going to show him this post so he can see another home brewer’s perspective!
Thanks to your hubby for the great information!
Great post! I’ve been on a number of brewery tours and I learned much more by seeing how it’s done on a smaller scale. This looks way too labor intensive for me to ever attempt – but it was interesting to see how it’s done! Now that you’ve mastered beer, are you gonna try wine next?
haha it is definitely a lot of work, especially keeping everything clean and sterilizied. i’m not sure we’ll be branching out into wine anytime soon….too many different kinds of beer to try!
Great post!
The art of beer making hasn’t changed a lot, the basic formula to a cold, crisp and refreshing brew still consist of two things – quality ingredients and a perfectly monitored brewing process.